Let’s be real. We all have that period a stressful project, late nights coding, too many conference calls, and suddenly your skin decides to stage a revolt. You look in the mirror and think, “Wait, when did my pores get so… visible?”
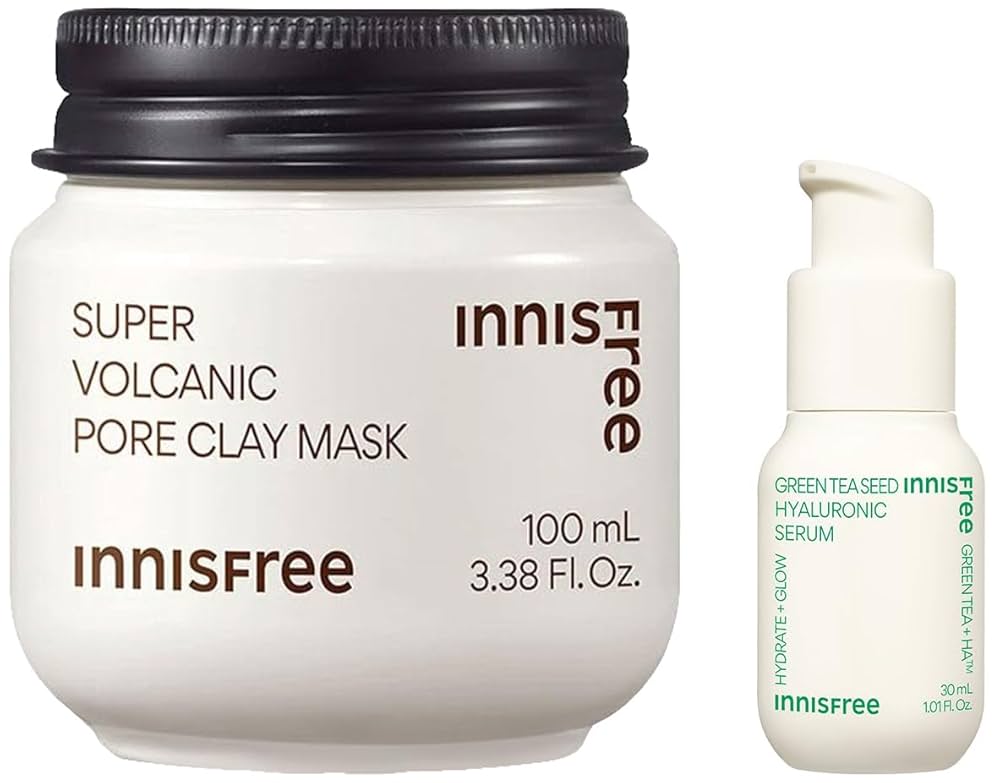
You’ve probably heard the buzz, seen it in every K-Beauty haul video, and maybe even have a tub of the famous Innisfree Super Volcanic Clay Mask sitting on your shelf, looking a little intimidating. It’s one of those skincare products that promises magic: clearer skin, smaller pores, and a refreshed look. But how do you actually use it to get those glowing results without irritating your skin?
As someone who used to only dabble in simple face washes, I can tell you that incorporating this mask was a game-changer for my good skin care routine. It’s not just a product; it’s a commitment to giving your skin a hard reset. This guide is for the complete beginner the person who wants the benefits of a powerful mask without the guesswork.
What Makes the Innisfree Super Volcanic Clay Mask So Special?
Before we dive into the ‘how-to,’ let’s talk about the ‘why.’ This isn’t just any clay mask for face treatment. The power of the Innisfree super volcanic clay mask comes from Jeju Volcanic Clusters, which are incredibly porous and excellent at absorbing excess sebum (oil) and tiny micro-dust particles.
There are a few versions, but the classic the Innisfree super volcanic pore clay mask is the one we’re focusing on. Think of it as a tiny vacuum cleaner for your pores, pulling out all the gunk that causes blackheads and breakouts. If you’re serious about your korean skin care products, this is a staple you simply can’t ignore.
Step 1: Prep is Everything (The Canvas)
You wouldn’t start deploying code without setting up the environment, right? The same goes for your face.
- Cleanse Thoroughly: Start with a clean face. Use your regular gentle cleanser to remove makeup, sunscreen, and surface dirt. This ensures the Innisfree volcanic pore clay mask is working on the gunk inside your pores, not the stuff sitting on top of your skin.
- Optional Steam: If you want to go the extra mile (especially if you’re dealing with stubborn blackheads), take a hot shower or hold a warm, damp cloth over your face for a minute. This gentle warmth helps to slightly open up your pores, making the mask’s job easier.
Step 2: Application (Less is Definitely More)
The texture of the Innisfree clay mask is creamy and smooth, but don’t be tempted to cake it on like frosting!
- The Right Amount: You only need a thin, opaque layer. A thick layer won’t work better; it will just take longer to dry and can actually make your skin feel drier afterward.
- Where to Apply: Focus on the “T-Zone” (forehead, nose, and chin) where oil and pores tend to be most prominent. This is where the Innisfree super volcanic pore power shines. You can skip the more sensitive areas, like the skin under your eyes.
- The Technique: Use clean fingers or a dedicated face mask brush (which I highly recommend for a smooth, even application).
Step 3: The Waiting Game (The Hardest Part)
Now, we wait. The recommended time for the Innisfree super volcanic pore clay is about 10–15 minutes.
- Don’t Let It Get Rock Hard: The key to using any clay innisfree mask effectively is to rinse it off before it completely dries to a cracked, uncomfortable state. When it starts to feel tight and look about 80% dry that’s your cue. If you let it get too tight, it can pull moisture from your skin and cause unnecessary irritation.
- Multitask: This is the perfect time to catch up on a podcast, review your daily schedule, or just sit quietly and enjoy the rare moment of stillness.
Step 4: Rinse and Refine (The Reveal)
Rinsing off a clay mask can be messy, but it’s crucial to do it gently.
- Use Lukewarm Water: Splash your face with lukewarm water and gently massage the mask in circular motions as you rinse. This massaging motion turns the mask into a mild physical exfoliant, helping to buff away dead skin cells and clear those newly softened pores.
- Check Your Pores: Pat your face dry with a clean, soft towel. Notice how clean and refreshed your skin looks. That is the magic of the Innisfree pore clearing clay mask at work!
Step 5: Post-Mask Moisture (Lock it In)
A powerful clarifying treatment needs a soothing follow-up. Since the Innisfree super volcanic formula is designed to absorb oil, you need to replenish your skin’s hydration immediately.
- Toner: Apply a hydrating, alcohol-free toner.
- Serum: Use your favorite hydrating or soothing serum.
- Moisturizer: Lock everything in with a good moisturizer. This final step is non-negotiable!
How Often? Start by using the mask once a week. If your skin is very oily or acne-prone and reacts well, you can increase it to twice a week. Listen to your skin it will tell you!
Conclusion: Enjoy the Clearer View
Jumping into the world of K-Beauty, especially with a powerhouse product like the Innisfree Super Volcanic Clay Mask, can feel like a big step. But by following these simple steps, you’ve mastered the technique. You now have a proven tool to combat congestion and keep your skin looking clear and balanced, even when your work life is anything but.
Give it a try tonight! Your pores will thank you.


