A wooden honey dipper is a simple yet essential kitchen tool that makes drizzling honey effortless. However, like all wooden utensils, it needs proper care to stay in good shape. Unlike metal or plastic, wood is porous and requires a bit of extra attention to ensure longevity.
If you’ve ever wondered how to clean and maintain your honey dipper without damaging it, this guide will walk you through the best practices to keep it looking and functioning like new.
1. Rinse Immediately After Use
The easiest way to keep your wooden honey dipper clean is to rinse it right after using it. Honey dissolves quickly in warm water, making cleanup simple.
How to do it:
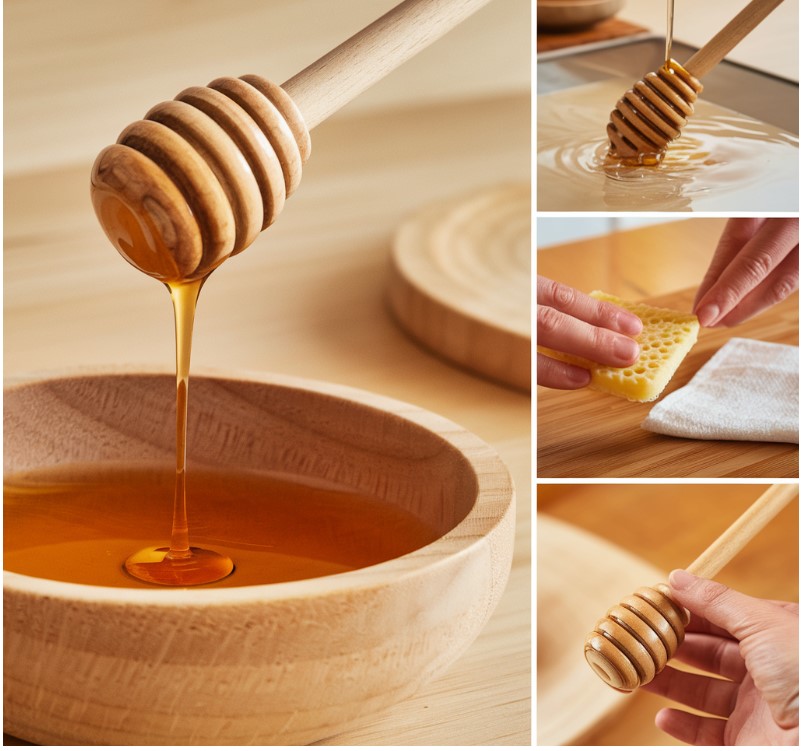
- Hold the dipper under warm running water.
- Rotate it between your fingers to wash off any honey stuck in the grooves.
- If necessary, use a small brush or a soft cloth to remove stubborn residue.
Why this matters: Honey hardens when left to dry, making it much harder to remove later. A quick rinse prevents buildup and keeps cleaning effortless.
2. Avoid Using Soap (When Possible)
Since wood is porous, it can absorb soap, which might leave behind an unpleasant taste. Most of the time, warm water is enough to clean your dipper.
When to use soap:
- If the honey dipper has been sitting for a long time and has hardened residue.
- If it has come into contact with other foods and needs a deeper clean.
If you must use soap, choose a mild, natural dish soap and rinse thoroughly to ensure no residue is left behind.
3. Do Not Soak in Water
Soaking wooden utensils, including honey dippers, can cause the wood to absorb water, leading to swelling, cracking, or even mold growth.
What to do instead:
- If honey has dried onto the dipper, briefly dip it in warm water for a few seconds, then scrub it clean.
- Never leave it submerged in a sink full of water.
4. Dry Thoroughly After Washing
Moisture is the enemy of wooden kitchen tools. After washing, ensure your honey dipper is completely dry before storing it.
Best drying methods:
- Pat it dry with a clean towel.
- Let it air dry in an open space rather than in a damp environment.
- Avoid storing it in a closed drawer before it’s fully dry.
A well-dried honey dipper prevents bacteria growth and extends its lifespan.
5. Condition the Wood Occasionally
Over time, wood can dry out and become rough or brittle. To keep your honey dipper smooth and strong, apply a food-safe oil periodically.
How to do it:
- Use mineral oil, coconut oil, or beeswax to condition the wood.
- Apply a small amount of oil with a clean cloth, rubbing it into the wood evenly.
- Let the dipper sit for a few hours, then wipe off any excess oil.
This step prevents cracking and keeps the wood in excellent condition.
6. Store It Properly
Proper storage ensures your honey dipper stays clean and free from moisture damage.
Best storage practices:
- Keep it in a dry, well-ventilated area.
- If possible, store it inside your honey jar for convenience and protection.
- Avoid placing it in a damp drawer where moisture can build up.
Final Thoughts
Taking care of your wooden honey dipper is simple and helps it last for years. By following these steps, you can maintain its quality while ensuring a smooth, mess-free honey-drizzling experience.
Quick Recap:
- Rinse immediately after use to prevent sticky residue.
- Use soap sparingly to avoid absorption.
- Never soak in water to prevent swelling and cracking.
- Dry thoroughly before storing.
- Condition with food-safe oil to maintain durability.
- Store in a dry place to avoid moisture buildup.
With just a little care, your wooden honey dipper will remain a reliable kitchen tool for years to come.