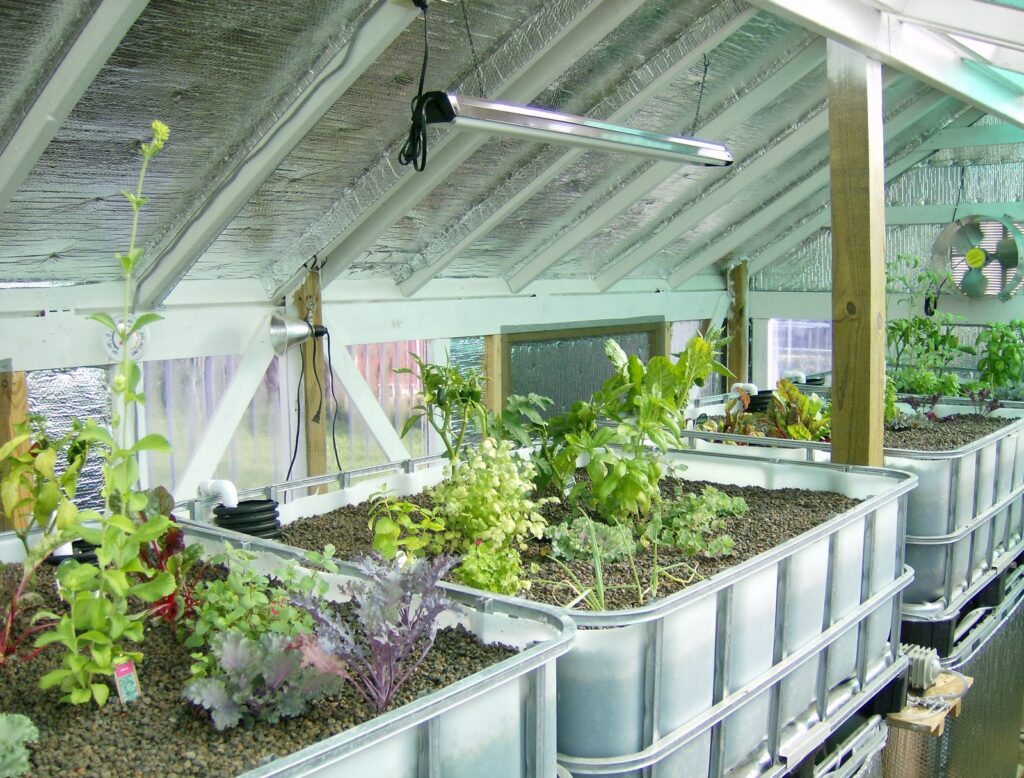
A greenhouse provides the perfect environment for growing plants year-round, but without proper insulation, it can lose heat quickly in the winter and overheat in the summer. Insulating your greenhouse correctly not only reduces energy costs but also ensures a stable climate for healthier plants. Many homeowners and gardeners explore professional solutions like Insulation Estimating Services to plan their projects effectively.
In this detailed guide, we’ll cover the importance of greenhouse insulation, various insulation methods, step-by-step instructions, and long-term maintenance tips.
Why Insulating a Greenhouse Matters
- Temperature Control: Prevents heat loss in winter and excessive heat gain in summer.
- Energy Efficiency: Reduces heating costs by minimizing heat escape.
- Plant Health: Protects delicate plants from sudden temperature fluctuations.
- Sustainability: Lowers the greenhouse’s overall carbon footprint.
Types of Greenhouse Insulation
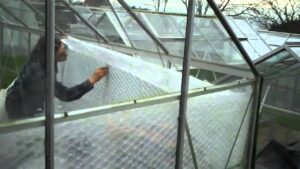
1. Bubble Wrap Insulation
One of the most popular and cost-effective methods. Garden-grade bubble wrap helps trap air and keeps warm air inside.
- Easy to install.
- Works well for temporary or seasonal insulation.
2. Polycarbonate Panels
Durable and energy-efficient, polycarbonate sheets are a long-term solution.
- Provide UV protection.
- Excellent light diffusion while retaining warmth.
3. Thermal Screens or Shade Cloths
Dual-purpose solutions that help in both insulation and shading.
- Retractable for seasonal needs.
- Useful in controlling light intensity.
4. Foam Boards for Ground Insulation
Installing foam boards along the greenhouse foundation prevents heat from escaping through the ground.
Step-by-Step: How to Insulate a Greenhouse
Step 1: Assess Your Greenhouse
- Check for cracks, leaks, and gaps around doors, windows, exterior insulation, and joints.
- Measure the surface area to calculate how much insulation material you’ll need.
Step 2: Seal Drafts
- Use weather stripping or silicone caulk around doors and windows.
- Close any gaps where heat may escape.
Step 3: Install Chosen Insulation
- For bubble wrap: Cut sheets to size and secure with clips or greenhouse fasteners.
- For polycarbonate panels: Attach using the manufacturer’s guidelines.
- For foundation insulation: Dig shallow trenches and place foam boards vertically against walls.
Step 4: Add Supplemental Heating (if necessary)
- Small electric or propane heaters can provide backup during extremely cold nights.
Step 5: Monitor and Adjust
- Use a greenhouse thermometer and humidity gauge.
- Make seasonal adjustments for ventilation during summer.
Additional Tips for Effective Insulation
- Double Glazing: Use two layers of plastic sheeting for better insulation.
- Thermal Mass: Place water barrels or stone inside the greenhouse to absorb heat during the day and release it at night.
- Reflective Materials: Use aluminum foil or reflective paint to direct sunlight effectively.
- Regular Maintenance: Replace damaged insulation materials promptly.
Common Mistakes to Avoid
- Using low-quality bubble wrap that degrades quickly.
- Blocking too much sunlight, reducing photosynthesis.
- Ignoring ventilation insulation without airflow can lead to mold and plant diseases.
- Over-relying on heaters without addressing structural insulation.
Long-Term Benefits of Greenhouse Insulation

- Reduced energy bills.
- Extended growing seasons.
- Healthier plants with consistent temperatures.
- Higher yield for commercial growers.
- Environmentally sustainable gardening.
FAQs About Greenhouse Insulation
Q1: What is the cheapest way to insulate a greenhouse?
Bubble wrap is one of the most affordable and efficient solutions for small greenhouses.
Q2: Can I insulate a greenhouse without reducing sunlight?
Yes, polycarbonate panels and horticultural bubble wrap allow sufficient light transmission while keeping heat inside.
Q3: Do I need to insulate my greenhouse year-round?
Insulation is most critical in colder months, but some materials like polycarbonate can remain year-round for durability.
Q4: How much does it cost to insulate a greenhouse?
Costs vary by size and material. Small DIY bubble wrap projects may cost under $100, while large professional installations with panels can range into thousands.
Q5: Is professional insulation worth it for a greenhouse?
Yes, especially for commercial or large-scale growers. Expert guidance ensures efficient material use and long-term durability.
Conclusion
Insulating a greenhouse is essential for creating a stable environment that supports plant growth throughout the year. From affordable bubble wrap to durable polycarbonate panels, there are multiple solutions to fit different budgets and goals. By sealing drafts, monitoring temperature, and investing in the right materials, you can significantly improve energy efficiency and crop yield.
Whether you’re a hobby gardener or running a commercial setup, proper insulation transforms your greenhouse into a reliable, productive space for plants all year long.