Table of Contents
- Introduction
- What is a Mirror Glaze Cake?
- Ingredients You’ll Need
- Tools & Equipment Required
- Step-by-Step Process to Make Mirror Glaze
- Preparing the Base Cake
- Making the Glaze Mixture
- Coloring & Pouring the Glaze
- Common Mistakes & How to Avoid Them
- Creative Variations & Ideas
- Final Thoughts
1. Introduction
Mirror glaze cakes have taken the baking world by storm, dazzling people with their glossy, reflective finish that looks almost too beautiful to eat. If you’ve been scrolling through Instagram or Pinterest lately, chances are you’ve already admired these stunning creations. For anyone who loves experimenting in the kitchen, learning this technique is both exciting and rewarding. Many professional Baking Classes in Chennai now include mirror glaze techniques as part of their syllabus, making it easier for aspiring bakers to master this art.
2. What is a Mirror Glaze Cake?
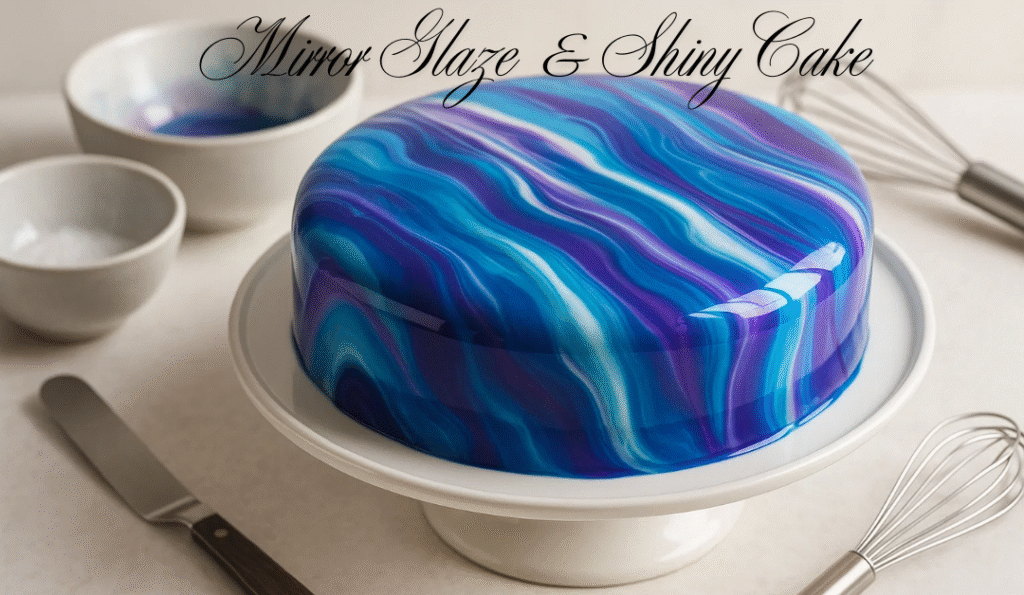
A mirror glaze cake is typically made by covering a chilled mousse-based cake or sponge cake with a smooth, shiny glaze. The glaze itself is made using gelatin, sugar, water, condensed milk, and chocolate, creating a reflective finish that resembles a mirror. The appeal lies not just in its beauty but also in the creativity it allows, from marble swirls to galaxy effects.
3. Ingredients You’ll Need
Here’s a basic list of what you’ll require:
- Gelatin powder or sheets
- Granulated sugar
- Water
- Sweetened condensed milk
- White chocolate (high-quality works best)
- Gel food colors (optional)
4. Tools & Equipment Required
- A hand blender or immersion blender
- Thermometer (to monitor glaze temperature)
- Strainer or sieve
- Mixing bowls
- Offset spatula
- Wire rack and tray (to catch excess glaze)
Having the right equipment ensures your glaze is smooth, bubble-free, and evenly spread.
5. Step-by-Step Process to Make Mirror Glaze
Preparing the Base Cake
- Start with a smooth mousse cake or frosted sponge cake.
- Freeze it for at least 3–4 hours before glazing.
- The frozen surface ensures the glaze sets perfectly.
Making the Glaze Mixture
- Bloom the gelatin in cold water.
- Heat sugar, water, and condensed milk until just boiling.
- Add chopped white chocolate and stir until melted.
- Blend with an immersion blender to ensure smoothness.
- Add bloomed gelatin and mix well.
Coloring & Pouring the Glaze
- Divide the glaze into bowls if you want multiple colors.
- Use gel food coloring for vibrant effects.
- Let the glaze cool to about 32–35°C (90–95°F) before pouring.
- Place the frozen cake on a rack and pour the glaze from the center outward.
- Smooth gently with an offset spatula and let excess drip off.
This stage is where creativity shines—marble swirls, galaxy patterns, or ombre effects are all possible. If you want professional guidance, Cake Baking Classes in Anna Nagar often provide hands-on training for perfecting these advanced decoration styles.
6. Common Mistakes & How to Avoid Them
- Glaze too hot → It will melt your cake coating. Always check the temperature.
- Air bubbles → Use an immersion blender carefully and strain the glaze before use.
- Uneven surface → Ensure your cake is completely smooth and frozen before glazing.
- Colors blending into brown → Use fewer colors at a time for cleaner patterns.
7. Creative Variations & Ideas
- Galaxy Cakes – Swirls of purple, blue, and black with edible glitter.
- Marble Effect – White base with streaks of gold or black.
- Pastel Glaze – Perfect for baby showers or weddings.
- Seasonal Themes – Red and green for Christmas, pink for Valentine’s Day, etc.
These designs not only look professional but also make your cakes the star of any celebration.
8. Final Thoughts
Mirror glaze cakes may look complex, but with patience and practice, anyone can master them. The key lies in proper preparation, temperature control, and creativity with colors. Whether you’re baking at home for fun or planning to turn your passion into a profession, learning the art of mirror glaze cakes will definitely set you apart. If you’re keen on structured learning, enrolling in baking classes is a smart choice to gain hands-on experience with expert guidance.