
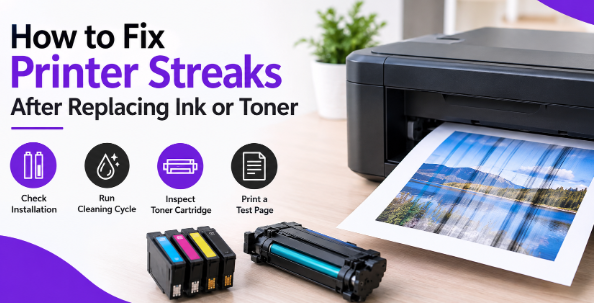
Having to replace the ink or toner in your printer is not always the solution to streaks. Your printer may still produce black streaks, white gaps, or faint text even after you’ve replaced the cartridge. There are, however, some simple solutions to these problems.
Quick Answer:
- Check cartridge installation: Make sure the ink or toner cartridge is properly installed.
- Remove all protective materials: These include tape, clips, and other protective materials.
- Run the printer’s cleaning cycle: This clears blockages and other printing issues.
- Toner cartridge movement: Follow your manufacturer’s instructions for moving the toner cartridge.
- Inspect the drum unit: This is especially important in laser printers.
- Make sure print settings match: Refer to your settings to verify that your paper type and print quality settings are correct.
- Print a test page: To confirm that streaks are no longer appearing on printouts.
Why Is My Printer Printing Streaks After Replacing Ink or Toner?
Streaks after replacing printer supplies are commonly due to installation problems, printhead issues, uneven toner distribution, or broken components.
- Incorrectly Installed Cartridge: If the cartridge is not fully inserted, ink or toner may not reach the paper, resulting in streaks after replacing ink or in uneven printing.
- Protective Tape or Seals Still Attached: New cartridges contain protective tape, clips, or seals that must be removed before inserting the cartridge. If these are not removed, streaks and other printing issues may occur.
- Clogged Printhead or Toner Distribution: A newly installed inkjet cartridge may be clogged. Laser printers may also produce streaks due to uneven toner distribution or a dirty or damaged drum.
How to Fix Printer Streaks After Replacing Ink or Toner
Follow these steps to identify and resolve the problem.
Step 1: Run the Built-In Cleaning Cycle
Open your printer’s software or control panel and run the printhead cleaning. This will cycle ink through the nozzles and clear minor clogs. Run this cycle a few times, then print a test page. Be aware that each time this cycle is run, it uses up ink.
Step 2: Print a Nozzle Check Pattern
A nozzle check pattern will show you if or where any ink channels are broken or clogged.
Step 3: Align the Printhead
If misalignment is the issue, this will cause banding to appear like printer streaking. Run the alignment utility from your printer settings and print a page.
Step 4: Clean Printhead and Cartridge Contacts Manually
Power your printer off and remove the ink cartridges. Wipe the metal contacts with a lint-free cloth lightly sprayed with distilled water, and let it dry. When everything is dry, reinstall the cartridges.
Step 5: Shake and Reseat Toner Cartridge (For Laser Printers)
Rock the toner cartridge from side to side to redistribute the toner. Firmly re-seat the cartridge. If there is toner buildup inside the printer, use a lint-free cloth to clean it.
How to Prevent Printer Streaks in the Future
This is how you can prevent printer streaks
- Use the Right Ink/Toner Cartridges: Using the right cartridges for your printer can prevent printing defects and distribute ink/toner evenly.
- Clean the Printhead: Clogged nozzles and white lines on a printed page can occur on your printer and can be solved by running the printhead cleaning cycle.
- Install Cartridges Correctly: Before printing, make sure that all of the protective seals are removed and the cartridges are seated all the way.
- Avoid Touching Sensitive Areas: Fingers on sensitive areas, like the print head or the toner drum, can cause defects and/or malfunctioning.
- Use Good Quality Paper: The paper type used can affect the quality of prints. Use the paper type recommended by your manufacturer.
When Should You Seek Professional Printer Repair?
If your printer continues to print streaks after replacing the ink or toner cartridge, it is possible that one of the following is damaged: the printhead, drum unit, or rollers. Additionally, the entire print mechanism could be damaged.
Don’t be tempted to take things apart yourself. A professional can help identify the problem and in the process, prevent further damage.
If your printer still prints streaks, DeviceFixes can help determine the cause of print quality issues and provide professional printer repair services. For printing issues such as streaks and lines, book a repair online, and we will address the issue for you.
Conclusion
Printer streaks after replacing ink or toner can be due to a number of reasons, such as a clogged printhead, improper cartridge installation, uneven toner distribution, or a defective cartridge. Check the installation and run the appropriate cleaning cycle. Print a test page to check for any irregularities.
Lines or streaks in printed output may be due to a worn-out printhead, drum, or other internal components of the printer. You may contact our customer service for assistance.